Charleston Pergola


-
-
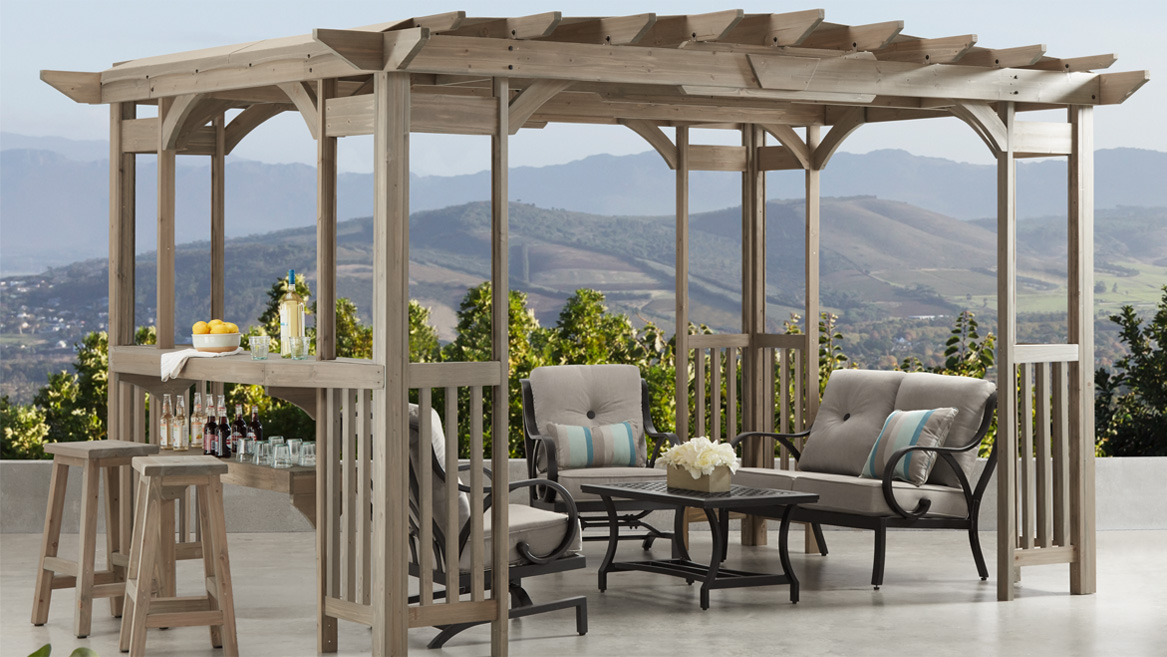
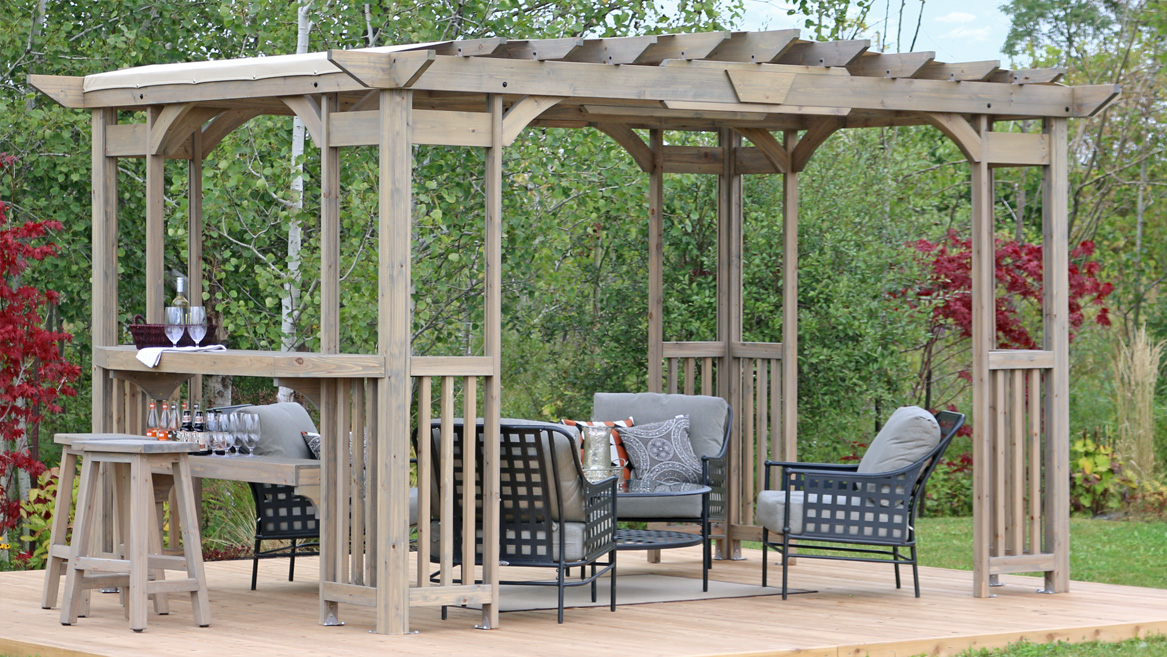
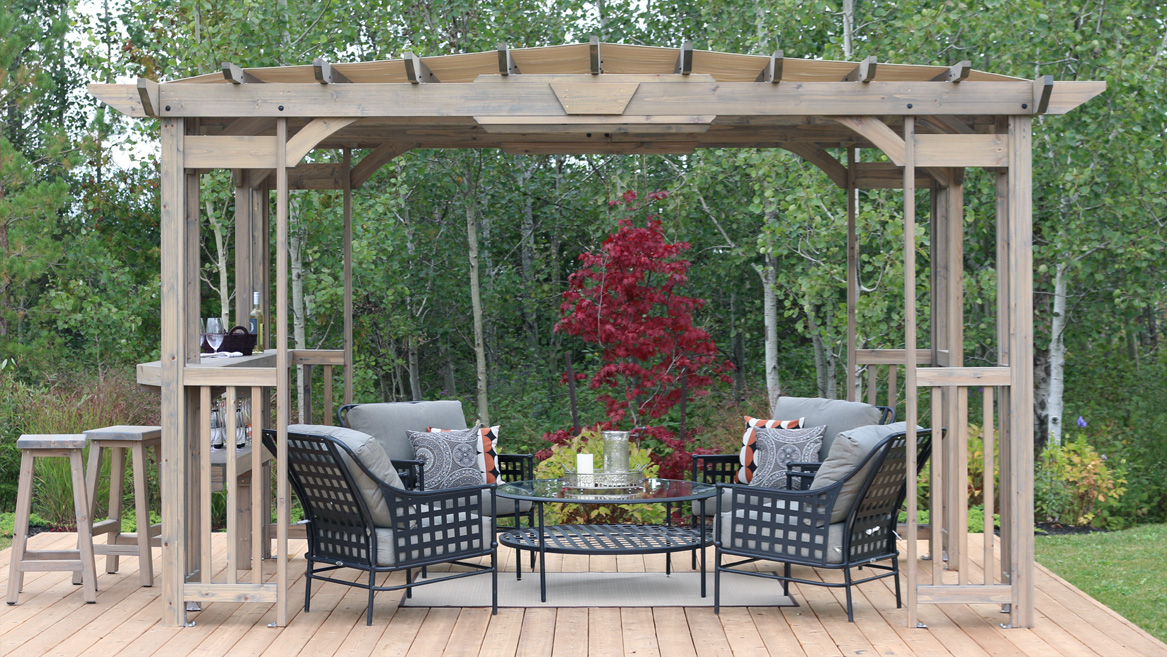
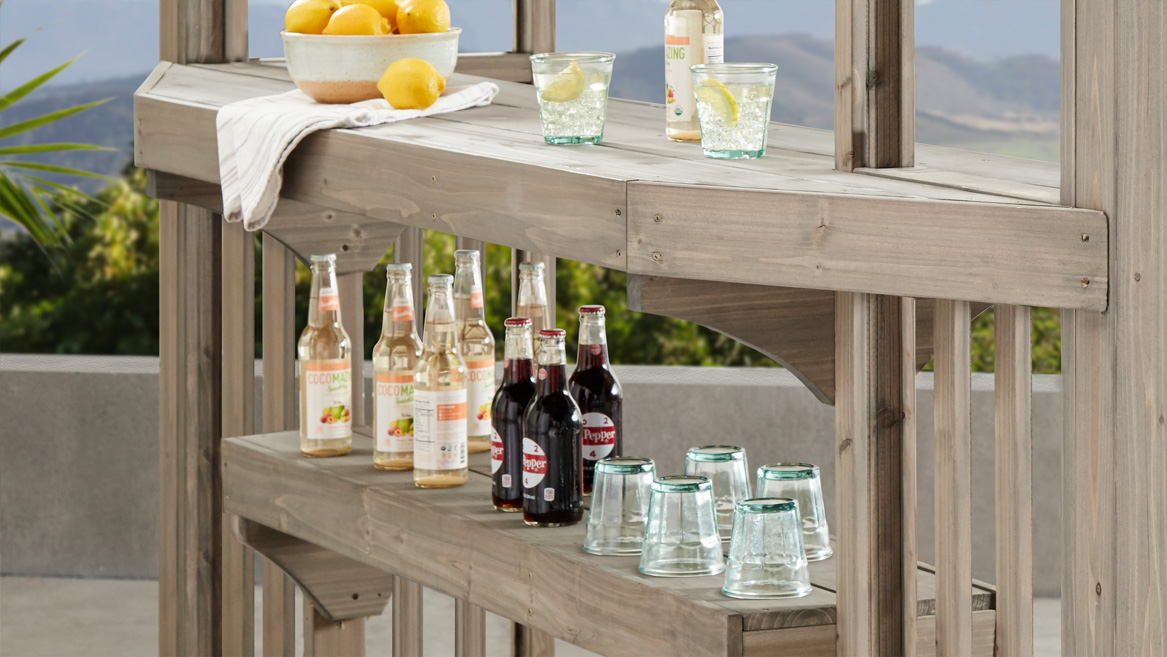
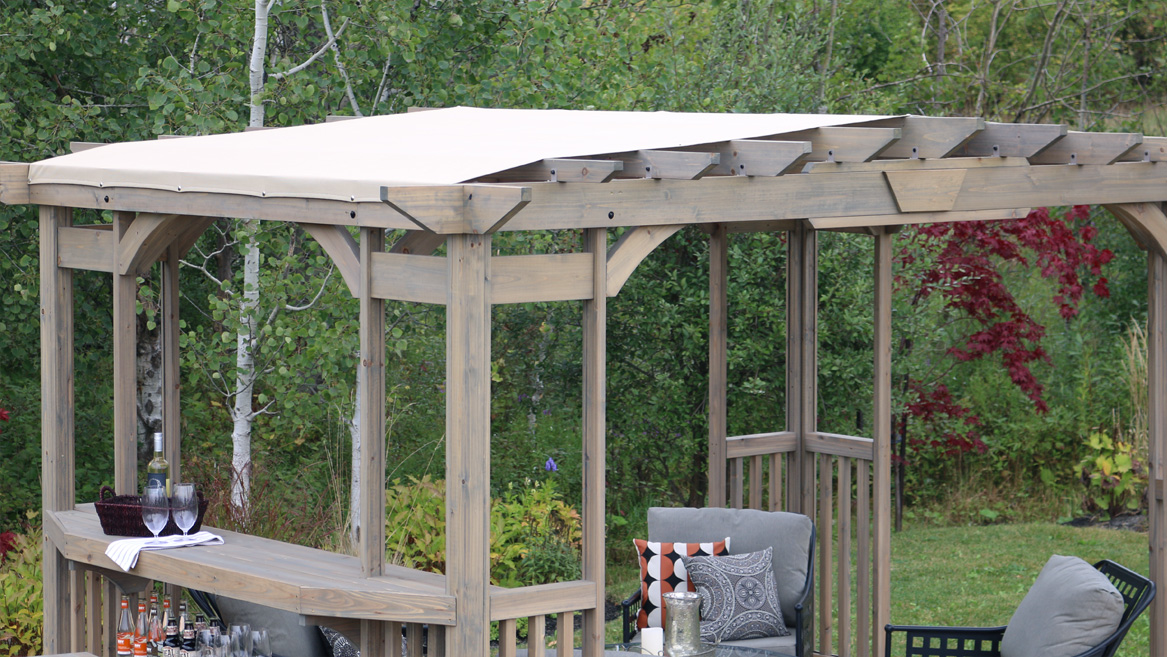
Extend your outdoor living space with the Charleston Pergola and bring indoor living outside. The Charleston Pergola adds character to any area creating the perfect setting for all your outdoor entertainment needs. The unique design includes a bar and counter feature, 100% natural cedar lumber finished in a timber gray stain, and a sunshade. With interior dimensions of 11’ 6 ½” x 7’ 6 ½”, the Charleston Pergola can accommodate most outdoor furniture sets. The illustrated step-by-step instructions and the helpful hints video will guide you through every step of the installation process. The Charleston Pergola is a multi-functional product that will add a sophisticated and modern look to your outdoor space. Add-on the Charleston Outdoor Bar Stools (Set of 2)* to complete your outdoor space.
FEATURES:
- Built using Premium Cedar Lumber
- Removable, Snap-On Sunshade made from PVS coated breathable wicking fabric
- Premium corner design with wooden balusters
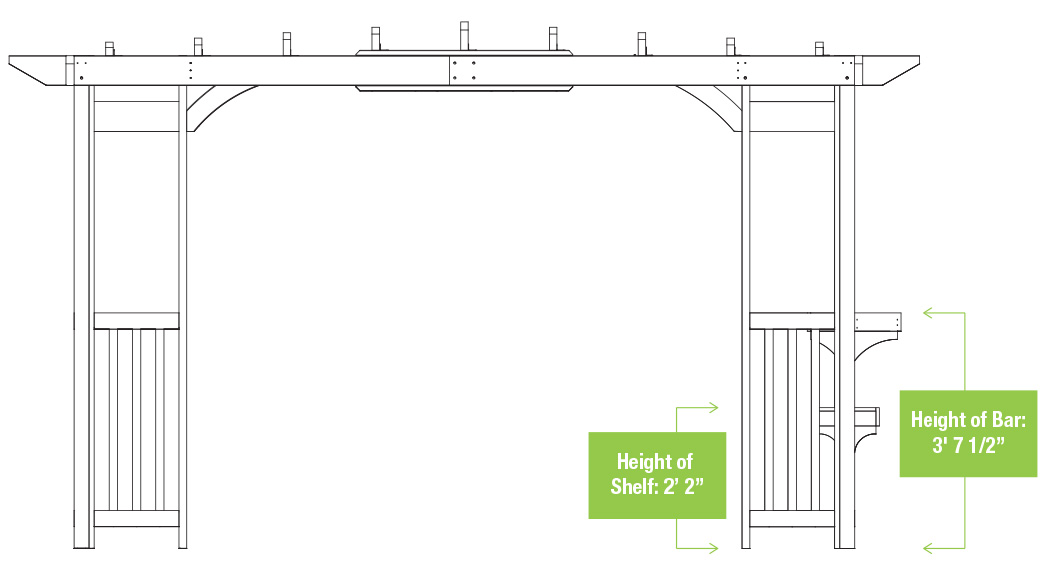
- Bar and shelf feature
- Pre-cut, pre-drilled and pre-finished with a Timber Grey wood stain
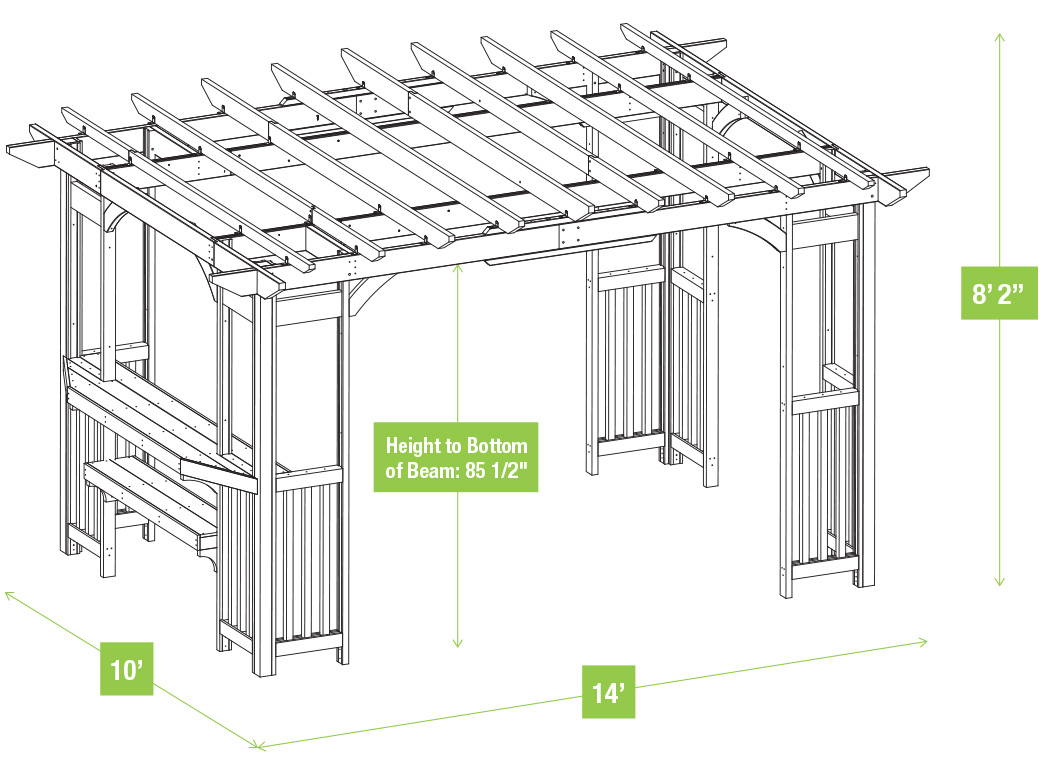
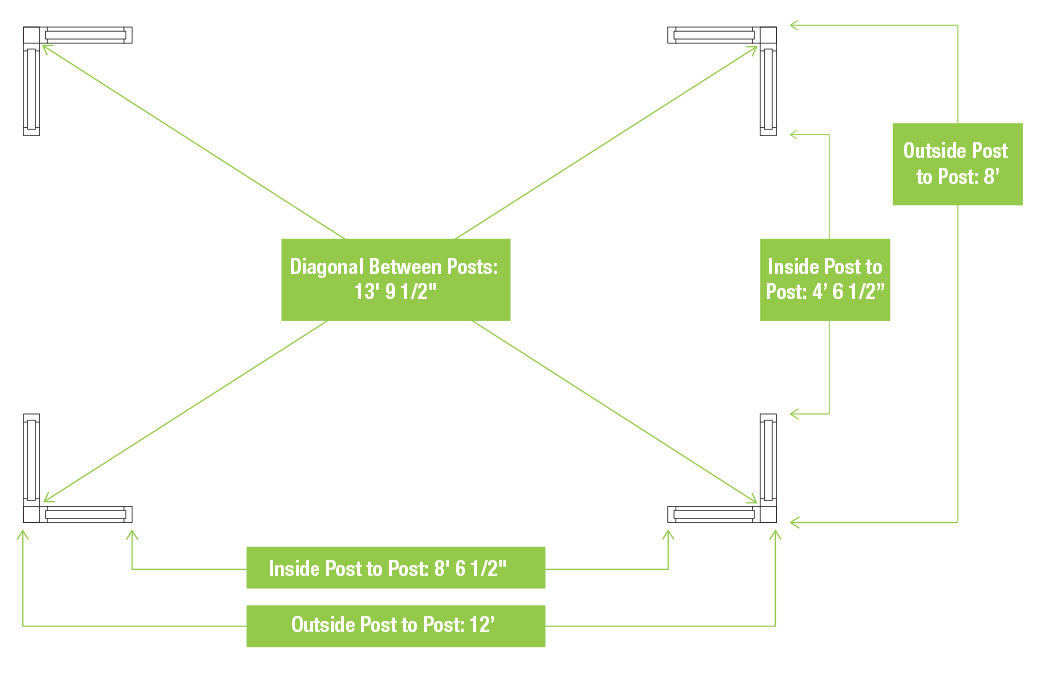
- Overall Dimensions: 14’ L x 10’ W x 8’ 2” H
- Base Dimensions: 12’ L x 8’ W
- Interior Dimensions: 11’6 ½” L x 7’ 6 ½” W
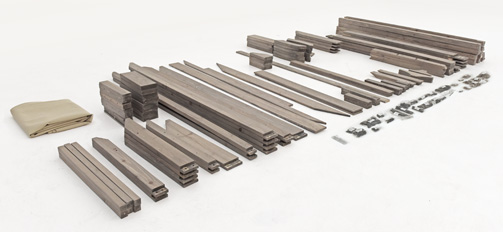
PACKAGING:
Your Charleston Pergola will come in 3 boxes
Box 1: 94” L x 15 ½” W x 10 ¼” H = 160 LBS
Box 2: 94” L x 14 ¾” W x 10 ¼” H = 148 LBS
Box 3: 84” L x 14 ½” W x 10 ¼” H = 150 LBS
-
ASSEMBLY FEATURES:
- Ready to assemble kit
- All wood, hardware and metal components included
- Designed to be surface mounted (mounting hardware not included)
- Dedicated Customer Experience Team to help with any assembly questions
PREPARING FOR INSTALLATION:
Prior to the installation of your Charleston Pergola, there are a few things you can do to help make your assembly process easier.
- Check with your local municipality for setback requirements/regulations that are necessary
- Plan where your Borrowed Spaces Product will go. If you are planning on using footings click here for a detailed footings drawing
- Make sure you have the necessary tools ready for installation. You can find a list of required tools on page 4 of the instruction manual
INSTALLATION TIPS:
- Read through the step-by-step illustrated instruction manual prior to installation. When the product arrives, you can find the Instructions in Box 1 of 3, or you can download a copy here:
- Review the Helpful Hints Video that Borrowed Spaces has created. The helpful hints video has been created to show you some tips and tricks that we’ve learned along the way to help with the more challenging and critical installation steps.
- Complete your inventory. To minimize installation time, complete your inventory prior to assembly. Use the stamped codes and parts ID pages in your instruction manual to organize and sort the parts. A half hour now can save a lot of time throughout the installation! If you are planning on using an installer to build your Pergola, doing an inventory before they arrive will help eliminate any delays! If you find that you need anything be sure to contact our Customer Experience Team or complete a parts replacement form.
- If you have any questions along the way, reach out to our Customer Experience Team! They are here to help
- Submit a request
- Email: support@borrowedspaces.com
- Call toll free 1-833-455-9002 Monday through Friday, 8:30 AM-5:00 PM Eastern Standard Time (excluding holidays)
ANCHORING:
- Designed to be surface mounted
- Includes 16 L-Brackets with a ½” diameter hole for anchoring hardware
- Anchoring hardware is NOT included as it may vary based on the surface material that the product is being installed on. Ask your local hardware store for recommendations that will suit the installation surface you have chosen
- Plan where your Borrowed Spaces Product will go. If you are planning on using footings click here for a detailed footings drawing
All Borrowed Spaces products are backed by a 5-year limited wooden component warranty.
Please contact our Customer Experience Team directly if you have questions about the product, warranty, or need replacement parts.
- Submit a request
- Email: support@borrowedspaces.com
- Call toll free 1-833-455-9002 Monday through Friday, 8:30 AM-5:00 PM Eastern Standard Time (excluding holidays)
CUSTOMER PHOTOS
-